
Introduction
DIY solar panel installation sounds straightforward: buy panels, mount them, plug them in. In reality, a residential rooftop system combines roof work, structural mounting, high-voltage electrical design, permitting, inspection, and utility approval into one project.
A capable homeowner can handle planning, equipment research, and some physical prep. But licensed electricians, structural professionals, or approved installers are often required for specific tasks, depending on your local jurisdiction.
Get it wrong and you risk roof leaks, electrical fires, failed inspections, voided warranties, or forced removal of the entire system. This guide walks through preparation, installation, validation, and the decision points where DIY should stop and professional help should start.
Key Takeaways
- Small ground-mounted or off-grid systems are far more DIY-friendly than rooftop, grid-tied installations
- Confirm roof condition, permits, HOA rules, and utility interconnection requirements before buying any equipment
- Never activate a grid-tied system before receiving written permission to operate from your utility
- Hire a qualified professional for live electrical work, structural questions, or unsafe roof conditions
Installation Guide for DIY Solar Panels
A complete solar project follows a defined sequence, not a single afternoon of panel-mounting:
- Assess the property and energy needs
- Design the system and secure permits
- Gather equipment and safety gear
- Install and connect components
- Pass inspection and interconnect with the utility
- Commission and monitor the system
Physical panel installation is just one step in that chain. The planning, documentation, and approval stages often take longer than the hands-on work itself, and they require real coordination with your local authority having jurisdiction (AHJ) and utility company.
Prerequisites and Safety Considerations
Before buying a single panel, assess your property honestly.
Roof and structure:
- Check roof age, material, slope, shading, and orientation
- Confirm attic or structural access for mounting hardware
- Decide whether a roof replacement should happen first. DOE's homeowner's guide specifically flags roof age as a factor before installing solar
System type:
- A ground mount, small off-grid array, or portable system is often more realistic for DIYers than a full rooftop grid-tied setup
- Confirm your electrical service, main panel, disconnects, and battery location can support the proposed design
Non-negotiables: stop and call a professional if:
- The roof is damaged or structurally questionable
- The work requires access near exposed live circuits
- Panels need lifting onto a roof without proper assistance or fall protection
- The system would connect to the grid before formal approval
Always verify requirements with your local AHJ, utility, and HOA. Building codes, electrical codes, fire setbacks, and interconnection rules vary by location and change over time, so pull current official sources rather than relying on general internet advice.

Tools and Parts Required
Most complete kits include the core hardware. Separate sourcing is often needed for site-specific extras.
Typically included in a kit:
- Solar modules, racking, and flashing
- Inverter or microinverters
- Disconnects, junction boxes, grounding and bonding components
- Wiring, conduit, breakers, monitoring equipment
- Battery components, if the design includes storage
Often sourced separately:
- Measuring and layout tools, approved hand and power tools
- Ladder, lifting assistance, fall-protection equipment
- Personal protective equipment, weatherproofing supplies, labeling materials
Wire gauges, torque values, connectors, and mounting hardware must match the manufacturer's instructions and your approved plans exactly. Don't improvise substitutions on electrical or structural components. Mismatched parts are a common reason systems fail inspection.
Planning, System Design, and Permitting
Start by estimating actual household energy needs using past utility bills, appliance loads, and seasonal usage patterns. Pair that with local solar-resource data, shading analysis, and panel orientation.
NREL's PVWatts calculator is a widely used tool for estimating production for a grid-connected system. Use a tool like this rather than guessing at output figures.
Comparing system types:
| System type | Complexity driver |
|---|---|
| Grid-tied | Utility interconnection approval required |
| Hybrid | Batteries plus backup loads plus charge controllers |
| Off-grid | Full balance-of-system equipment, no utility fallback |
Component compatibility matters just as much as sizing: panel voltage and current, inverter capacity, battery chemistry and voltage, and your electrical panel's existing limitations all need to line up.
Most jurisdictions require a documentation package for approval, which commonly includes:
- A site plan
- Equipment specifications and cut sheets
- Structural information
- A one-line electrical diagram and wiring diagram
Confirm the exact submission package with your local building department before finalizing your design.
How to Install DIY Solar Panels
This sequence is a general overview, not a substitute for your approved plans or the manufacturer's manual. Order can shift depending on equipment and mount type.
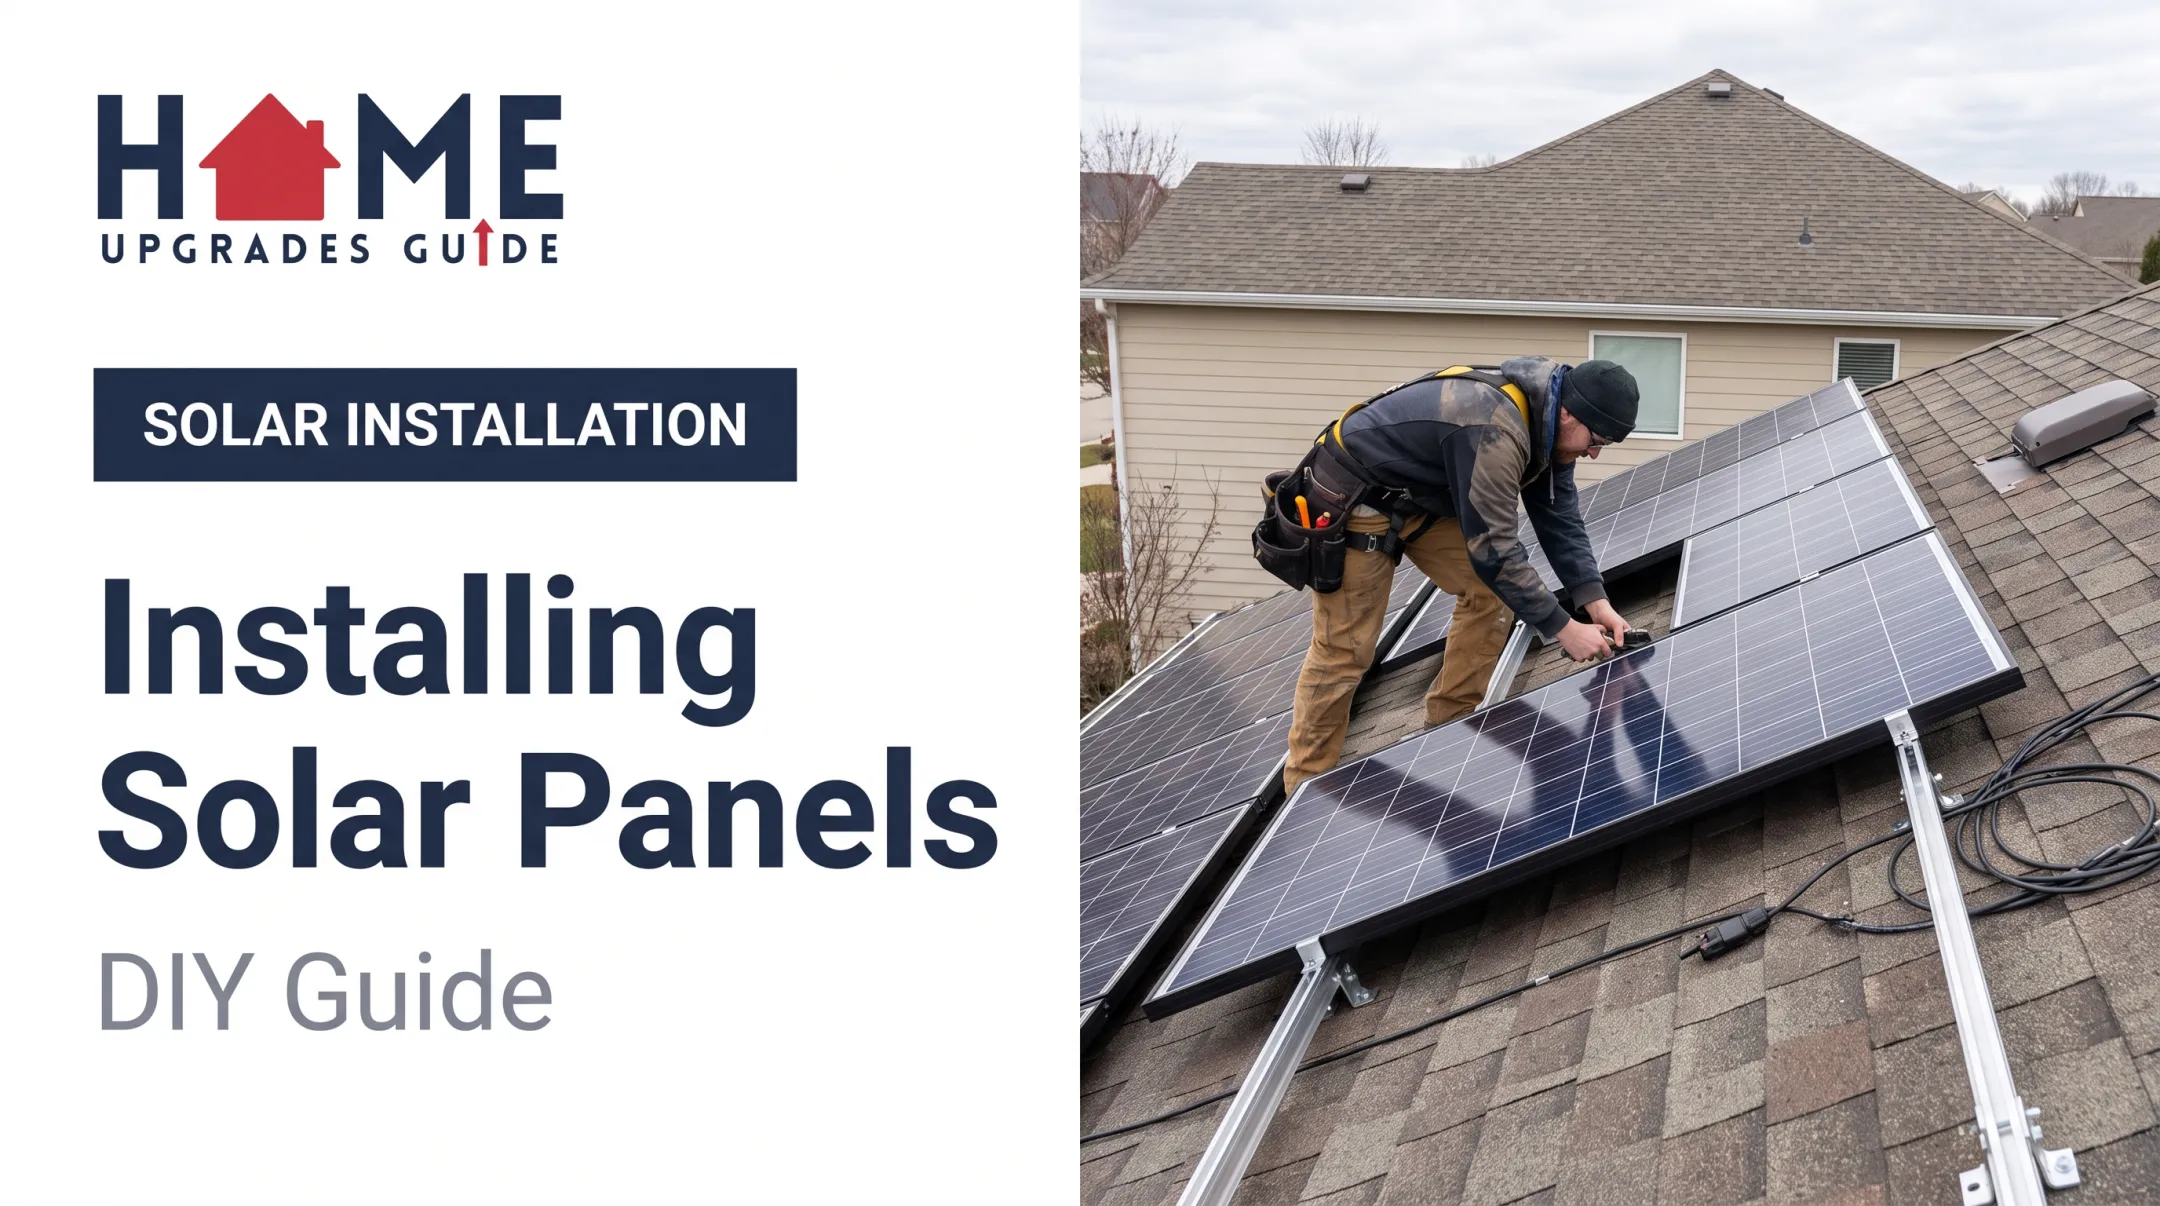
- Prepare the mounting location. Mark rafters or prepare the ground-mount foundation. Install approved flashing or footings and maintain required clearances.
- Install racking, bonding, and grounding per your design. Correct fasteners, torque, corrosion compatibility, and waterproofing matter more than speed here.
- Position and secure panels with correct clamps and spacing. Use proper lifting assistance and protect connectors from weather and abrasion.
- Install inverters, disconnects, conduit, and junction boxes in approved, accessible locations. Reserve final service-panel connections for a licensed electrician where required.
- Complete wiring only per the approved design. A grid-tied system must stay de-energized or isolated until inspection and utility authorization are both complete.

Don't skip ahead to energizing the system just because the physical install looks finished. That's exactly where DIYers run into trouble.
Post-Installation Checks and Validation
Before calling for inspection, run through your own checklist:
- Panel alignment and fastener torque
- Roof penetrations and flashing condition
- Conduit support and weatherproof enclosures
- Grounding, bonding, and required labels
- Disconnect access and clearances
- Battery ventilation or temperature requirements, if applicable
- Visible cable damage
A qualified person should verify electrical tests, polarity, voltage, insulation, grounding, and inverter configuration. Never test exposed energized conductors yourself.
Final steps:
- Schedule the AHJ inspection
- Resolve any deficiencies noted
- Complete utility interconnection paperwork
- Wait for written permission to operate before activating the system
- Confirm expected production through monitoring
Keep every permit, approved plan, inspection record, serial number, warranty, and monitoring credential. These protect you later for insurance claims, warranty service, or resale.
Common DIY Solar Installation Problems and Fixes
Even careful DIYers run into predictable issues. A review of 287 PV installations by NYSERDA found labeling issues at 78% of sites and grounding deficiencies at 53%, based on NYSERDA's inspection findings. Small details fail inspections often.

Roof Leaks or Structural Damage
Problem: Water intrusion, loose mounts, or cracked roofing after installation. Likely cause: Mounts attached outside structural members, incorrect flashing, or insufficient sealant. Fix: Stop work, document the area, and bring in a qualified roofing or solar professional before energizing anything.
Low Production or Inverter Faults
Problem: Output below design expectations, or the inverter repeatedly shuts down. Likely cause: Shading, incorrect sizing, loose connectors, or incompatible components. Fix: Compare monitoring data against weather and design assumptions. Avoid opening energized equipment. Have a technician diagnose wiring and configuration.
Failed Inspections or Unsafe Electrical Conditions
Problem: Inspection rejection, missing labels, improper grounding, or utility refusal to interconnect. Likely cause: Outdated plans, incomplete permits, or work performed without required licensed help. Fix: Get the written deficiency list, correct the plans or installation, and reschedule inspection before requesting permission to operate.
Pro Tips for Installing Solar Panels Effectively
Sequence matters. Complete roof repairs, design approval, and permitting before equipment arrives. Avoid rushing mounting work in rain, high wind, or extreme heat.
Keep a project file with:
- Approved plans and product manuals
- Serial numbers and torque notes
- Photos of concealed wiring and roof penetrations
- Receipts, warranties, and utility correspondence
Use a DIY-plus-professional approach. Research equipment, prepare the site, or assist with mounting yourself. Then bring in a licensed electrician, roofer, or engineer for work outside your legal authority or comfort zone.
Know when to stop and call for help:
- Steep or fragile roofs
- Structural uncertainty
- Battery storage design or main-panel upgrades
- Grid-tied interconnection and live electrical work
- Failed inspections
If any of these apply, HomeUpgradesGuide lets you request free quotes and compare vetted local solar contractors, while you decide whom to contact and when.
Conclusion
Successful DIY solar installation isn't just about attaching panels to a roof. Design accuracy, structural safety, electrical compliance, permitting, inspection, and utility approval all determine whether your system performs reliably for decades.
Prepare carefully, follow your approved plans and manufacturer instructions, and weigh the real cost of DIY (including your time and risk) against professional installation. If you'd rather have experts handle it, HomeUpgradesGuide connects you with local contractor matches for free, no-obligation quotes in about two minutes.
Frequently Asked Questions
How much does a solar installer charge?
Pricing varies with system size, roof complexity, electrical upgrades, equipment, and location. The median marketplace price was $2.48 per watt in the first half of 2025, according to EnergySage's report. Always compare itemized quotes.
How much is a 3,000 W solar panel?
3,000 watts usually describes system capacity, not a single panel. Applying the EnergySage median of $2.48/W, a 3 kW system would run roughly $7,440 before incentives, though actual costs depend on panels, inverter, racking, and labor.
How many solar panels do you need to run a household?
It depends on your household's electricity use, panel wattage, sunlight, shading, and system losses. Use a tool like PVWatts or a professional design for an address-specific estimate rather than a generic panel count.
Can I run AC on a solar panel?
Air conditioning typically requires a full solar system with sufficient inverter capacity and panel count, not a single panel. Startup demand, operating hours, and whether you're grid-tied all affect the design.
What is the 20% rule for solar?
This phrase usually refers to a load-side connection calculation under NEC 705.12, but interpretations vary by code edition and local amendment. Confirm the specific rule with your AHJ rather than assuming one universal formula.
Who is a solar installer?
A solar installer is a licensed professional or company that designs, mounts, wires, and commissions solar systems, and helps secure permits and utility approval. Check licensing, insurance, certifications, references, and itemized quotes before hiring.