
Qualified solar installers and licensed electricians should handle the roof mounting, electrical connections, commissioning, and anything governed by local permits or your authority having jurisdiction (AHJ). Skipping steps here isn't a shortcut. It's a liability.
Get it wrong and you risk roof leaks, underperforming panels, electrical shock, arc faults, damaged equipment, failed inspections, voided warranties, or delayed utility approval. This guide walks through the full installation sequence: design and permits, roof prep, panel and microinverter placement, AC integration, commissioning, inspection, and ongoing monitoring.
Key Takeaways
- Microinverter installs require coordinated roofing, electrical, permitting, and utility work, not a simple plug-and-play setup.
- Most panels get their own microinverter, though some approved models can serve multiple panels.
- Grounding, cable management, weatherproofing, and rapid-shutdown compliance are non-negotiable details.
- Never activate the system until testing, inspections, and utility approval are fully complete.
- Compare written proposals that spell out equipment, warranties, permits, and commissioning responsibilities.
Installation Guide for Solar Panels with Microinverters
A typical project follows five phases:
- Design and permitting
- Roof and electrical preparation
- Mounting panels and microinverters
- Connecting the AC branch circuit and monitoring gear
- Testing, inspection, and utility approval
Timelines vary widely. Roof condition, array size, your home's electrical service, weather, equipment availability, and local permit backlogs all play a role. Any installer who promises a fixed timeline before visiting your property is guessing.
Prerequisites and Safety Considerations
Before equipment gets ordered, your installer should evaluate the roof structure, covering, flashing areas, electrical service, and proposed array layout. This isn't optional paperwork. It determines whether the design actually works on your specific roof.
Key compatibility checks include:
- Panel electrical characteristics and microinverter model/capacity match
- Trunk or branch-circuit equipment ratings
- Communication gateway compatibility
- Mounting hardware suited to your roof type
- Disconnects and service-panel capacity
- Future battery storage plans
US projects typically involve local building and electrical permits, AHJ requirements, utility interconnection rules, and National Electrical Code (NEC) practices. Those rules cover grounding, bonding, labeling, and rapid shutdown.
Licensing requirements vary by state. Minnesota, for example, requires a residential building contractor license for companies contracting with homeowners on rooftop PV, plus a separately licensed electrical contractor for the electrical work, according to Minnesota's solar FAQ. Check your own state's rules, since this is a single-state example, not a nationwide standard.
Non-negotiables. Do not:
- Work on an energized system
- Bypass disconnects or protective devices
- Walk on solar modules
- Alter roof structure without engineering approval
- Energize the array before required testing and inspection
Tools and Parts Required
Rather than a wiring recipe, here's what the system actually consists of:
- Solar modules and microinverters
- Racking, flashing, rails, or approved roof attachments
- AC trunk cabling and branch-circuit equipment
- Disconnects and overcurrent protection
- Grounding and bonding hardware
- Monitoring gateway and required labels
- Weatherproof cable-management materials
Installers also need specialized gear: electrical test equipment, torque tools, roof-safety equipment, lifting equipment, and manufacturer-specific commissioning software. Substitutions should only happen with explicit manufacturer and code approval.
As the homeowner, you'll typically supply utility account details, roof access, electrical-panel photos, and any documentation your installer needs for permits or interconnection. Everything else, from equipment to commissioning tools, is the installer's responsibility.
How to Install Solar Panels with Microinverters: Step-by-Step
This is a coordinated professional installation, not a sequence of isolated tasks. Shortcuts on connectors, cable routing, grounding, or flashing tend to create failures that are hard to diagnose once the array is already running.
Preparing the installation site
The installer verifies the approved design against roof measurements, structural attachment points, shading and orientation assumptions, and equipment inventory. Weather conditions, fall protection, and the service-panel and monitoring equipment location get confirmed on site as well.
Roof repairs or reinforcement happen before any mounting begins. Attachment points get marked and cable routes planned so penetrations stay minimal, sealed, and accessible for future service.

Positioning and securing panels and microinverters
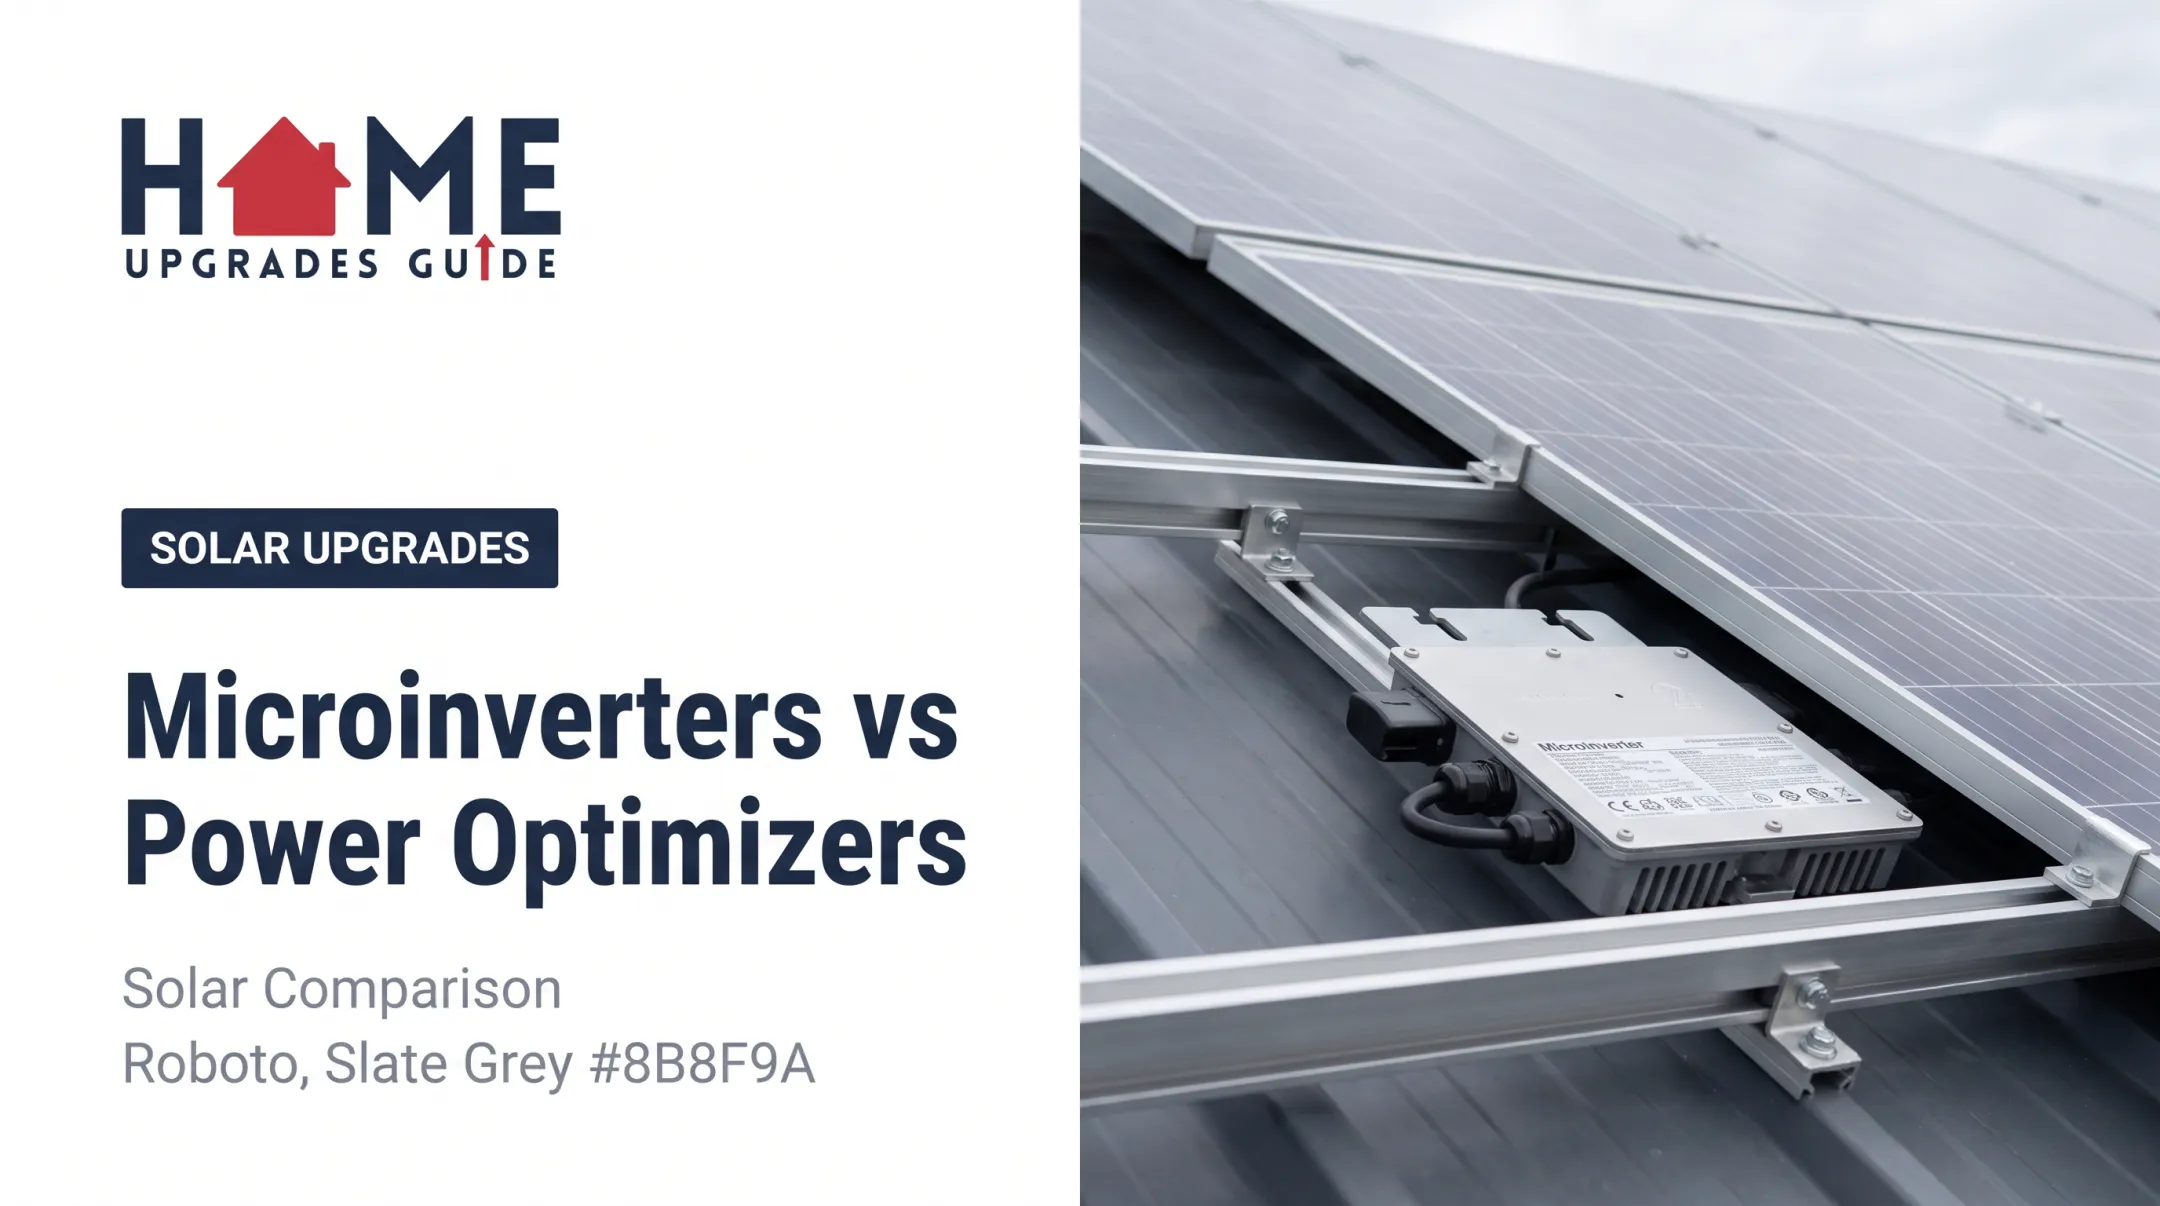
Racking and flashing go in per the approved design and manufacturer instructions, with required edge setbacks, clearances, attachment spacing, and drainage paths maintained throughout. Each microinverter, or an approved multi-panel unit, gets secured to the racking in a location protected from standing water but still able to dissipate heat and allow future service access.
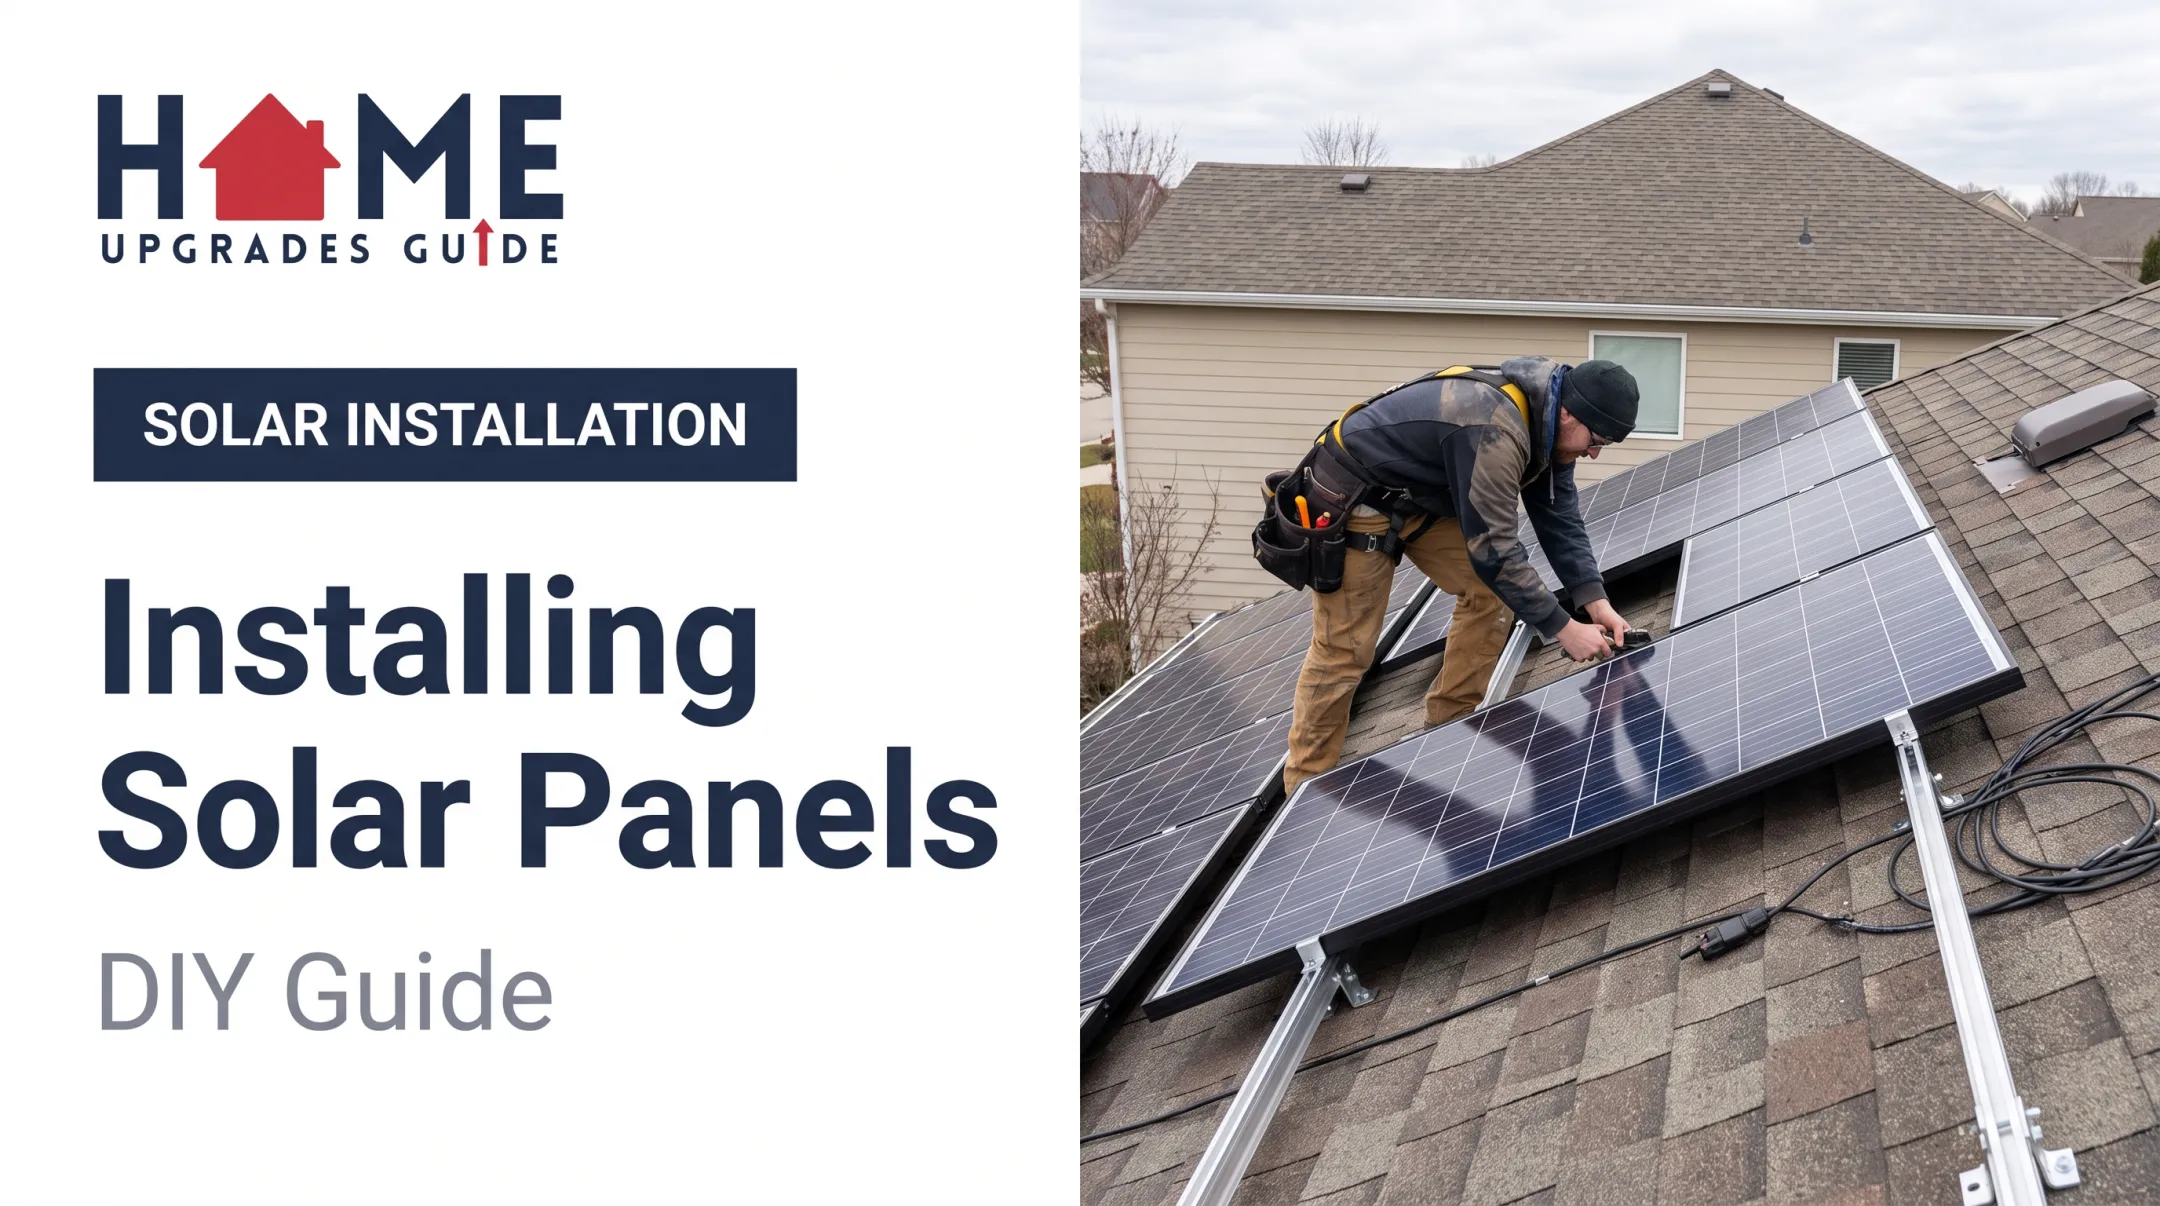
Panels are placed in the planned orientation and secured with approved clamps. Nobody should stand on the modules, and ventilation and drainage paths need to stay clear.
Integrating the microinverters with the electrical system
At a high level, each panel's DC leads connect to a compatible microinverter input. The microinverters then connect through approved AC cabling and branch-circuit equipment into your home's electrical system. This isn't a terminal-by-terminal DIY job.
Before anything gets energized, the installer verifies:
- Connector type and polarity
- Cable ratings and branch-circuit limits
- Overcurrent protection and disconnect locations
- Grounding, bonding, and conductor support
- Weatherproofing and labeling
The communications gateway and monitoring equipment get connected at this stage too. If you're planning battery storage, generators, or other distributed energy resources, expect additional design work and utility review before any of that gets added.
Initial configuration, inspection, and commissioning
The installer registers the system, configures the monitoring platform, assigns each microinverter or panel, confirms gateway communication, and documents serial numbers and warranty information.
Enphase's own installation manual, for example, walks through device scans, grid-profile configuration, and production-meter setup as part of this process. It also requires specific rapid-shutdown labeling before an installation is considered complete, according to Enphase's IQ8 manual.
Required tests cover insulation, grounding, polarity, disconnect operation, rapid shutdown, production, and any abnormal fault indications. None of this is optional, regardless of how straightforward the install looked.
Post-Installation Checks and Validation
Before the crew leaves, insist on a visual review of:
- Roof attachments, flashing, and panel clamps
- Cable management and open connectors
- Microinverter placement and clearances
- Labels and service access points
Then check the monitoring app. It should identify every expected panel or microinverter, show production data, and report no unresolved faults. Ask for basic instructions on interpreting alerts, since you'll be the one seeing them day to day.
Final approval usually involves AHJ inspection, utility permission to operate, meter or interconnection work, and submission of as-built documentation. Permitting and inspection steps happen before a rooftop system is considered truly finished, not after, as the Department of Energy notes in its rooftop solar guidance. Don't treat the system as complete until these are done.

Keep these documents:
- Permits and inspection approvals
- Equipment datasheets and one-line diagrams
- Warranties and monitoring credentials
- Maintenance guidance
- Your installer's contact information
Common Installation Problems and Fixes
Most early issues trace back to design assumptions, incompatible components, incomplete commissioning, or skipped inspections. The microinverter technology itself is rarely the culprit.
Issue 1: A panel or microinverter doesn't appear in the monitoring system
One unit shows no production, intermittent communication, or an unresolved fault after commissioning. Common causes include:
- Connector or communication faults
- Incorrect device registration
- Damaged cable
- Incomplete commissioning
Have the installer run the manufacturer's diagnostic process, verify device mapping, and replace damaged equipment only after safely isolating the circuit.
Issue 2: The array produces less energy than expected
Production falls below the design estimate. Common causes include:
- Unaccounted-for shading
- Incorrect orientation assumptions
- Soiling or panel mismatch
- Weather that didn't match the original design
Compare measured production against the design assumptions, inspect for new shading sources, and review panel-level data before assuming equipment failure.
Issue 3: Water intrusion, loose hardware, or cable damage
Roof leaks, loose attachments, unsupported cables, or exposed connectors usually point to:
- Incorrect flashing
- Improperly torqued hardware
- Poor cable management
- Weather-related impact
Don't climb onto the roof to investigate unless you're trained and equipped for it. Document the issue from ground level and call your installer for a roof and electrical inspection.

Pro Tips for Installing Solar Panels with Microinverters Effectively
A good proposal does more than list a price. Before signing anything, push for these specifics:
- Design rationale: Ask why microinverters fit your property, considering shading, roof orientations, panel-level monitoring needs, and future expansion. Compare it against string-inverter or optimizer alternatives.
- Equipment detail: Confirm exact models, panels-per-microinverter ratio, system capacity, warranty terms, rapid-shutdown approach, and battery compatibility.
- Accountability: Clarify who pays for remedial work if the system fails inspection.
- Documentation: Require commissioning results, panel mapping, monitoring credentials, as-built diagrams, serial numbers, and fault-reporting instructions.
- Long-term service: Confirm how roof access, replacement labor, and warranty claims get handled if a rooftop microinverter needs attention years down the line.
Comparing multiple proposals side by side is the single best way to catch gaps before they become problems. HomeUpgradesGuide helps homeowners request free solar project quotes and compare vetted local contractor matches, all without requiring a phone call until you're actually ready to talk. The whole process takes about two minutes, and you decide who to contact and when.
Conclusion
Microinverters can simplify panel-level monitoring and help systems cope with shading or multiple roof orientations. Those benefits still depend on clean execution. Safety, code compliance, performance, and long-term serviceability all hinge on how the job is done.
Prioritize these over whoever quotes the lowest number:
- Documented design
- Qualified installation
- Correct permitting
- Careful commissioning
- Final validation
Compare detailed proposals from qualified local solar professionals before you approve any work. Make warranty terms and maintenance access part of that comparison, not an afterthought.
Frequently Asked Questions
Are solar panels with microinverters worth it?
Microinverters can be worthwhile for homes with unavoidable shading, multiple roof orientations, panel-level monitoring needs, or expansion plans. Still, compare the design and cost against other inverter options before deciding.
Does each solar panel need a microinverter?
One microinverter per panel is the common setup, though some approved models can serve two or more panels. The right configuration depends on panel ratings, microinverter limits, roof layout, and manufacturer instructions.
Can I install solar panels with microinverters myself?
Roof mounting and electrical interconnection carry fall, shock, fire, code, and utility risks. This work should be completed and commissioned by qualified professionals familiar with your local requirements.
How are microinverters connected to solar panels?
Each microinverter connects to a panel's DC output and converts it to AC. The microinverters then connect through approved AC cabling, protective equipment, your home's electrical system, and monitoring hardware.
Do microinverters require maintenance?
They generally need little routine maintenance. Still, monitor production, respond to alerts promptly, keep your documentation, and have qualified professionals inspect or replace rooftop equipment when necessary.
Can I add a battery to a microinverter solar system?
Battery compatibility depends on the battery architecture, inverter and gateway equipment, backup design, service-panel capacity, and utility requirements. Have your installer design and approve the complete system rather than adding a battery informally later.