
That geometry affects everything: structural attachment points, electrical routing, weatherproofing, and how much usable space actually exists once you subtract hips, ridges, vents, and shade.
Qualified solar installers, roofers, and licensed electricians should design and execute this work. Homeowners still play a role, though. You can review your roof's condition, understand shading patterns, evaluate proposed layouts, and compare permits and quotes before signing anything.
Get this wrong, and you're not just looking at lower energy output. Poor installation can cause roof leaks, structural damage, electrical hazards, failed inspections, and voided warranties. This guide walks through preparation, mounting, wiring, validation, and how to choose the right installer.
Key Takeaways
- Hip roofs need a face-specific design, not a generic gable-roof layout
- Have pros assess roof age, structure, orientation, pitch, shade, and electrical capacity
- Multi-face arrays need equipment that handles mixed orientations and shading
- Flashing, attachments, grounding, and interconnection must follow U.S. codes
- Compare full proposals, not just system size or price, when choosing an installer
Installation Guide for Solar Panels on a Hip Roof
The process generally moves through four stages:
- Roof and solar assessment
- System design and permitting
- Mounting and electrical installation
- Testing and final approval
A hip roof's multiple faces mean more planning time than a large, uninterrupted gable roof would require. Installers need to measure each face separately, map shading and obstacles, and often split the array into smaller groups.
Timelines vary. Roof condition, array size, weather, equipment availability, permit processing, and utility interconnection requirements all affect how long the project takes. Be wary of any installer who promises an exact completion date before the assessment is done.
Prerequisites and Safety Considerations
Before any work begins, your installer should assess four areas:
Roof readiness means inspecting shingles or other covering, decking, underlayment, flashing, ridge and hip areas, ventilation, drainage, and any signs of existing leaks or structural wear.
Solar feasibility involves measuring each roof face individually, identifying usable rectangular and triangular sections, checking orientation and pitch, and mapping chimneys, vents, and seasonal shade from trees or neighboring structures.
NREL's rooftop PV potential methodology treats each contiguous roof section as a distinct plane and requires at least 10 square meters (about 108 sq ft) of shade-free, properly oriented space for even a modest system. Total roof area does not equal usable area.

Electrical readiness covers the main service panel, available breaker space, grounding and bonding requirements, inverter placement, cable pathways, and utility interconnection rules.
Safety and compliance requirements include:
- Fall protection for any work above 6 feet, per OSHA's fall protection rule
- De-energized electrical work where applicable
- Licensed, qualified personnel only
- Permits and inspections before energizing the system
- Compliance with current local building and electrical codes
Under the 2021 IRC, installers also need to maintain clear fire-access pathways: at least two 36-inch-wide paths from roof edge to ridge, on separate planes, with one on the street-facing side. Horizontal ridge setbacks run 18 to 36 inches depending on how much of the roof the array covers.
Stop the project if: there's an active leak, the roof structure can't support the system, access is unsafe, roofing is severely deteriorated, electrical deficiencies remain unresolved, or the design can't meet required clearances. None of these are things to work around.
Tools and Parts Required
A hip-roof solar system typically includes:
- Solar modules plus roof-specific mounting hardware, rails or rail-free options, flashed attachments, and clamps
- Wire-management components and roof-sealing materials approved for your covering
- Inverters or module-level power electronics, DC/AC wiring, disconnects, and grounding equipment
- Production monitoring hardware, labels, and service-panel components
- Professional tools for layout, torque specs, electrical testing, fall protection, and alignment
Mounting hardware must match both the roof covering and the manufacturer's instructions. Modules should carry UL 1703 or UL 61730 listing, and racking should meet UL 2703 standards for mounting and bonding. This isn't a place for improvised fasteners or substitute sealants: the wrong hardware compromises the roof's water-shedding system, not just the warranty.
How to Install Solar Panels on a Hip Roof (Step-by-Step)
The installation sequence has to be built around your specific roof, not copied from a flat or gable-roof template. Shortcuts here tend to cause misalignment, leaks, uneven loading, or failed inspections.
- Mark structural attachment points. The crew identifies rafters or other approved structural members and maintains required clearances from hips, ridges, edges, valleys, vents, and access paths.
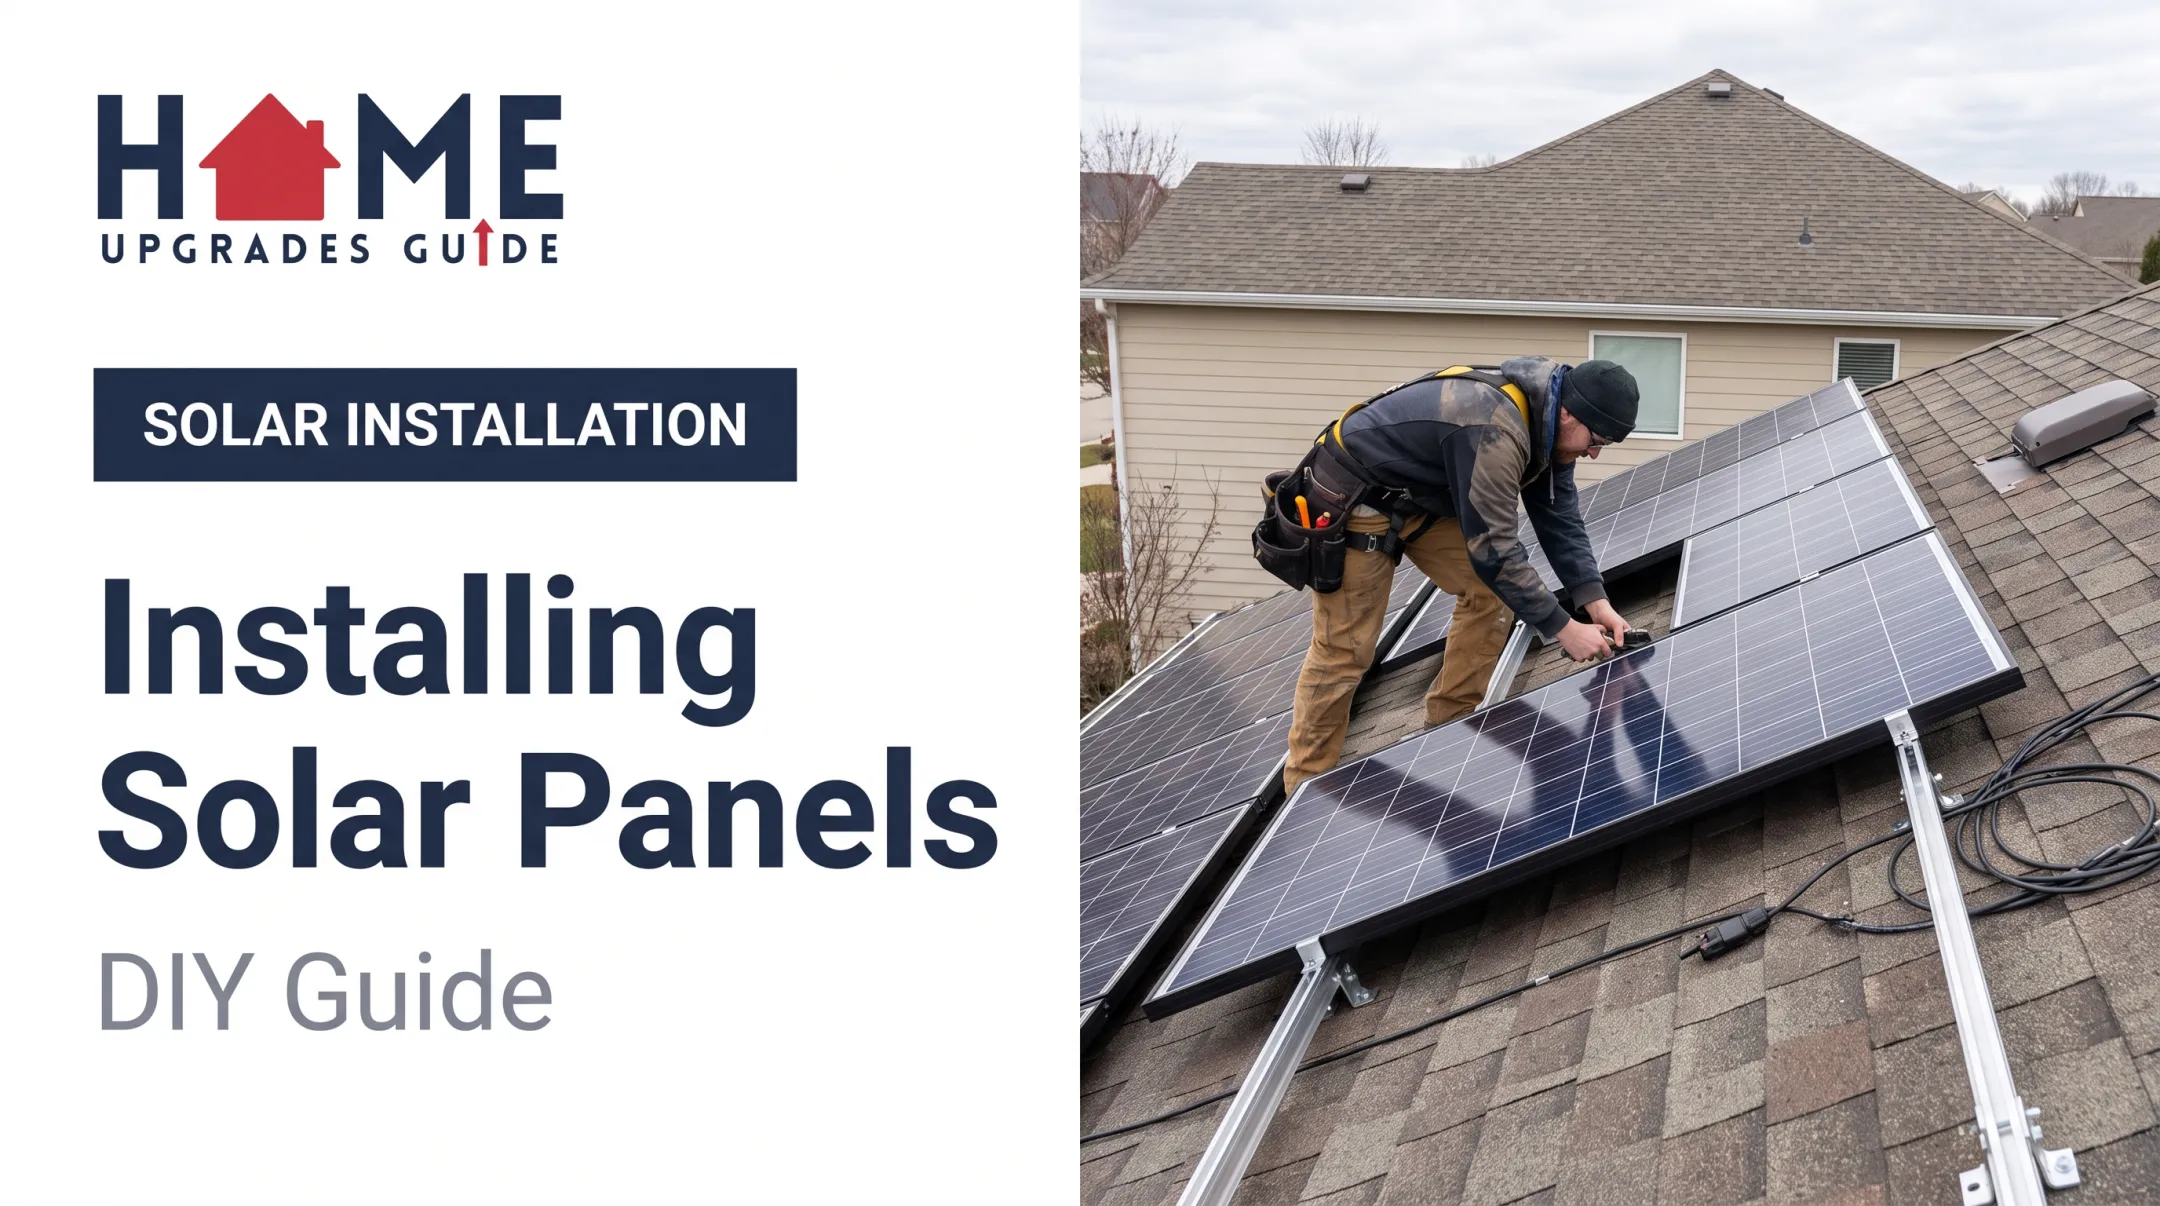
- Install flashed roof attachments and mounting rails. Follow the racking manufacturer's instructions exactly: locate rafters, drill pilot holes, apply approved sealant, slide flashing between shingle courses, and secure a bonded lag bolt through the flashing. Penetrations must carry structural loads while preserving the roof's water-shedding layers.
- Position panel groups across selected faces. Smaller groups often go on narrower or triangular sections. Heavily shaded or poorly oriented faces are typically skipped or minimized.
- Wire module-level electronics or string inverters. Handle cable management, connector compatibility, polarity, grounding, and bonding. Keep cables clear of sharp edges and water-collection points, secured at intervals no greater than 4.5 feet and routed under the array.
- Connect to inverter, disconnects, service panel, and utility interface. Qualified electricians must complete and test this stage.
- Confirm mixed-orientation and shading hardware is in place. Hip roofs often use microinverters or power optimizers when faces catch sunlight differently. DOE research on module-level electronics found this can recover 20% to 35% of energy otherwise lost to partial shading, and nearly all loss from orientation mismatch between faces.

Post-Installation Checks and Validation
Before the system goes into normal operation, the crew should complete a documented handover covering five areas:
- Visual and structural checks: panels, rails, clamps, flashings, penetrations, and cable routes are secure, aligned, and undamaged
- Roof and weather-sealing checks: flashing integrates correctly with the roof covering, and no fasteners or cables create avoidable leak paths
- Electrical checks: connector integrity, grounding and bonding, voltage and current readings, and proper labeling of breakers and disconnects
- Functional checks: inverter startup, monitoring communication, production readings, and shutdown controls
- Documentation and approvals: equipment information, warranties, as-built layout, inspection results, and utility permission to operate
Skipping this step doesn't make problems disappear. It just delays discovery until a loose attachment, wiring fault, or roof leak becomes a bigger, costlier repair.
Common Installation Problems and Fixes
These issues show up often on hip roofs specifically. All repairs should go through qualified professionals, not DIY fixes.
Uneven or Inadequate Usable Roof Area
Problem: The roof looks spacious from the ground, but hips, ridges, triangular end sections, required setbacks, vents, and shade leave too little practical space for the planned array.
Likely cause: The original design counted total roof square footage instead of measuring each usable face and applying required clearances.
Fix:
- Redesign the array across multiple faces
- Consider a smaller or resized system
- Relocate obstructions where feasible
- Evaluate whether a ground-mounted array makes more sense for the property
Roof Leaks or Damage Around Attachments
Problem: Water enters near mounting points, flashing, fasteners, or cable penetrations after installation.
Likely cause: Attachments missed structural members, flashing went in incorrectly, mismatched sealants were used, or existing roof damage wasn't addressed before mounting began.
Fix:
- Have the installer and a qualified roofer inspect the area together
- Repair the roof and flashing
- Verify the attachment method
- Document the correction
Uneven Output Between Panel Groups
Problem: One roof face or panel group produces noticeably less electricity than expected.
Likely cause: Orientation differences, seasonal shade, mismatched electrical grouping, flawed design assumptions, damaged equipment, or a monitoring configuration error.

Fix:
- Compare monitoring data against the approved design
- Check for shade and wiring issues
- Test the equipment
- Make adjustments only through an approved design change
Pro Tips for Installing Solar Panels on a Hip Roof
- Schedule a roof inspection before requesting solar quotes. If your roof is nearing the end of its service life, weigh the cost and warranty implications of reroofing before or alongside solar, not after panels are already mounted.
- Ask every installer for a roof-specific layout. It should show panel groups by roof face, setbacks, obstructions, estimated production, inverter approach, attachment method, and any assumptions about shade or roof condition.
- Get permits, warranties, and responsibilities in writing. This includes utility interconnection steps, workmanship coverage, roof-penetration warranties, equipment warranties, monitoring support, and who's responsible if panels need removal for future roof work.
- Compare quotes from multiple qualified local professionals. HomeUpgradesGuide's free quote process takes about two minutes: share your project details, enter your address, and get matched with vetted local solar contractors. You decide whom to contact and when, with no phone calls required until you're ready.
- Don't pick a proposal just because it has the most panels. On a hip roof, the best design balances production, roof condition, structural integrity, appearance, and long-term maintenance access.
Conclusion
Solar panel installation on a hip roof is doable. The result just depends on accurate roof measurement, smart placement across the right faces, secure weatherproof attachments, compliant electrical work, and thorough validation before flip-the-switch day.
Before you commit:
- Address roof defects first
- Compare full proposals, not just bottom-line prices
- Verify your installer's qualifications and who's responsible for what
- Request documentation before signing anything
HomeUpgradesGuide connects homeowners with vetted local solar professionals through a free, no-obligation quote comparison so you can evaluate real proposals side by side before deciding who gets the job.
Frequently Asked Questions
Can I install solar panels on a hip roof?
Yes. Hip roofs can support solar panels, but the system often needs to be divided across multiple roof faces. The design has to work around hips, ridges, shading, structural attachment points, and required clearances.
What is the best roof position for solar panels?
It depends on your home's location, roof orientation, pitch, shade, and energy goals. A professional design should compare all suitable faces rather than assuming south-facing is automatically best.
Is a hip roof bad for solar panels?
Not automatically. Smaller, differently oriented faces reduce layout flexibility and require more detailed design work, but they don't rule out an effective solar installation.
Do solar panels damage a hip roof?
Properly designed and installed systems should preserve roof integrity. Incorrect attachment, flashing, or cable routing (or installing over already-damaged roofing) raises the risk of leaks and structural issues.
Should I replace my roof before installing solar panels?
Consider your roof's age, condition, remaining service life, and warranty terms before installing solar. Replacing or repairing an aging roof first can help you avoid removing and reinstalling panels later.